This is a bit more challenging tutorial, mainly because you now need to dive into the scripting engine that is built into World Builder. This is an advanced tutorial, mainly because it uses some scripts that require some thought to execute. This will be a step by step tutorial, and you can follow along quite easily in WorldBuilder.
|
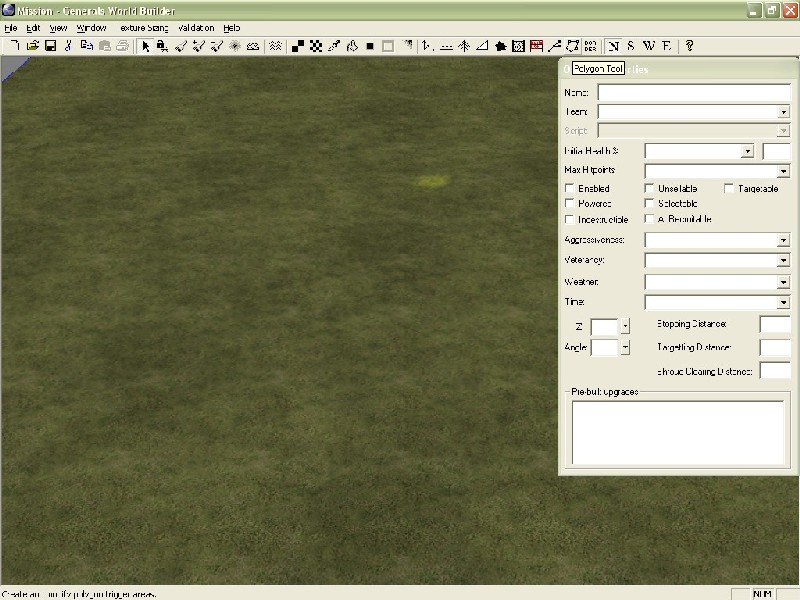
1. The first step is to create a new area. You can do this by selecting the Polygon tool (Figure 1).
|
Figure 1:
|
|
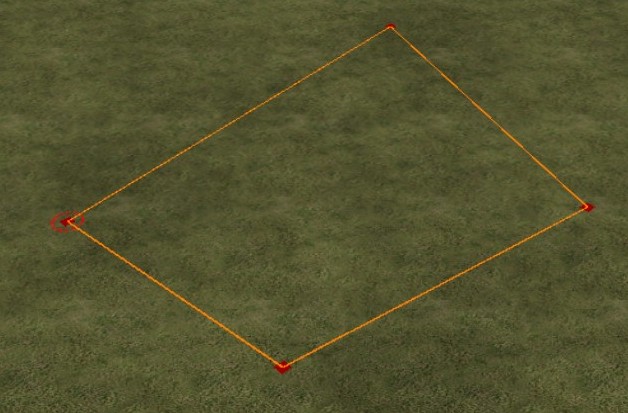
2. The next thing is to actually create the polygon. You do that by setting a start point, and then clicking your way around whatever shape you want to make (Figure 2).
|
Figure 2:
|
|
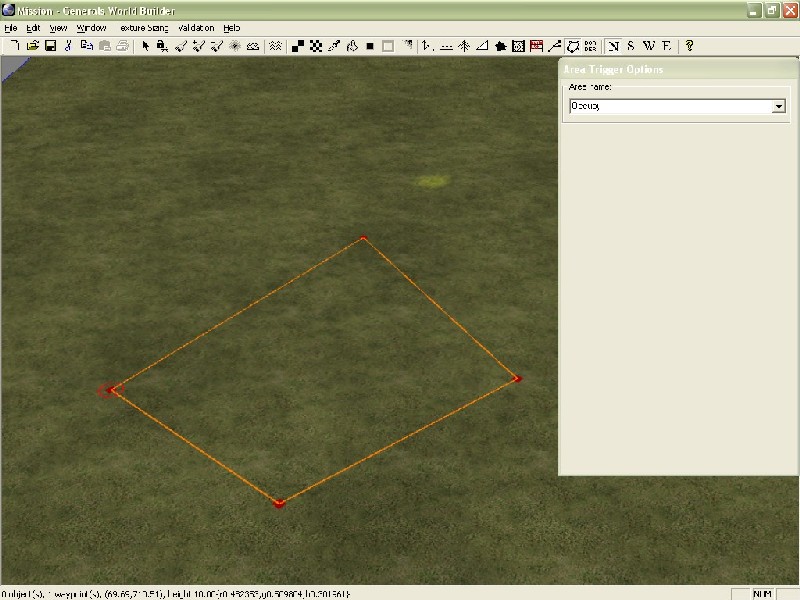
3. Step three is to name your new area, I called mine occupy (Figure 3).
|
Figure 3:
|
|
4. Step four is to open the script editor (Edit-> Edit Scripts) (Figure 4).
|
Figure 4:
|
|
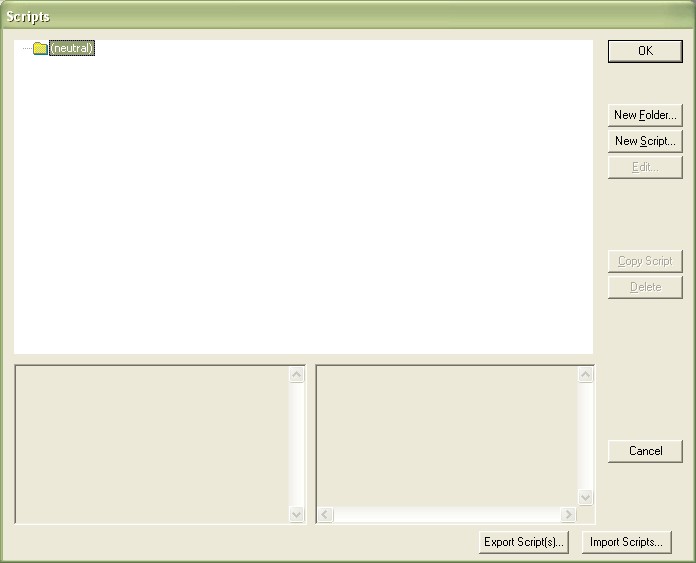
5. Next you need to create a new script by selecting the New Script button.
|
|
Figure 5 shows what the new script will look like.
|
Figure 5:
|
|
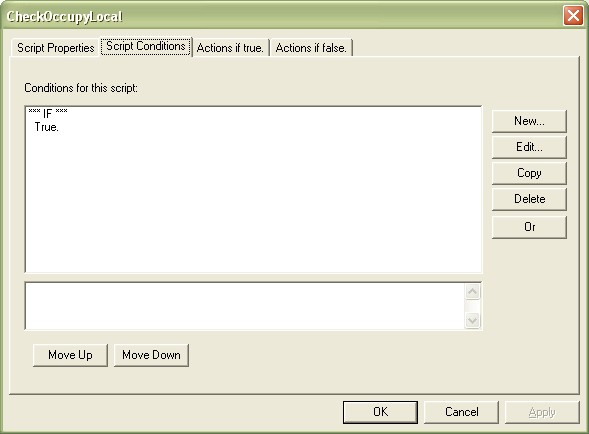
6. After renaming the script (I chose CheckOccupyLocal), you need to start setting the conditions for the script (the second tab in the script box (Figure 6)).
|
Figure 6:
|
|
7. Step seven is to select the True condition, and hit edit. From the menu that appears, you need to choose the [Player] Player has (comparison) kind of unit or structure in area (Figure 7).
|
Figure 7:
|
|
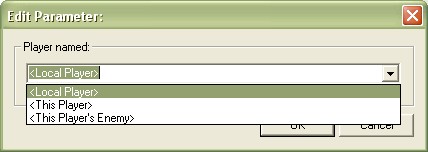
8. Now its time to start setting the parameters. The first parameter (It appears as a hyperlink) Player should be set to (Figure 8).
|
Figure 8:
|
|
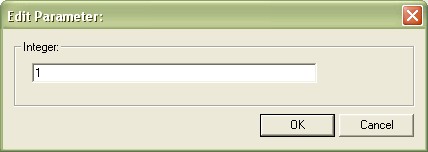
9. Next you want to set the number of units. I chose 1 (Figure 9).
|
Figure 9:
|
|
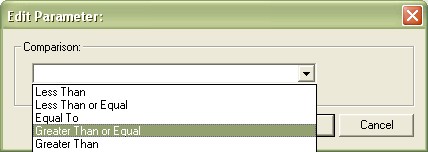
10. Next, you need to choose your logic comparator. Since this is to occupy an area, you want to choose Greater than or Equal to (Figure 10).
|
Figure 10:
|
|
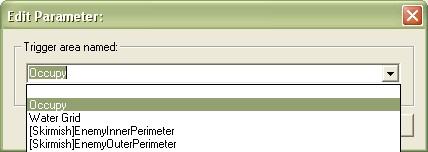
11. Next, you need to select the area. I used Occupy, since that is what my area for this is named (Figure 11).
|
Figure 11:
|
|
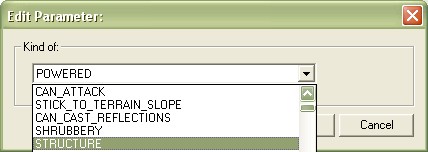
12. Next, you want to choose the correct KindOf. I chose Structure (Figure 12), since that means the player actually has to build a building there to occupy the area.
|
Figure 12:
|
|
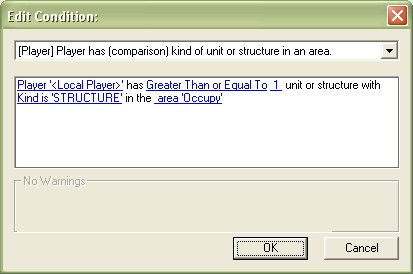
Figure 13 shows what your completed script conditions menu should look like.
|
Figure 13:
|
|
13. The next step is to go into the Actions if True tab (third from left) (Figure 4).
|
|
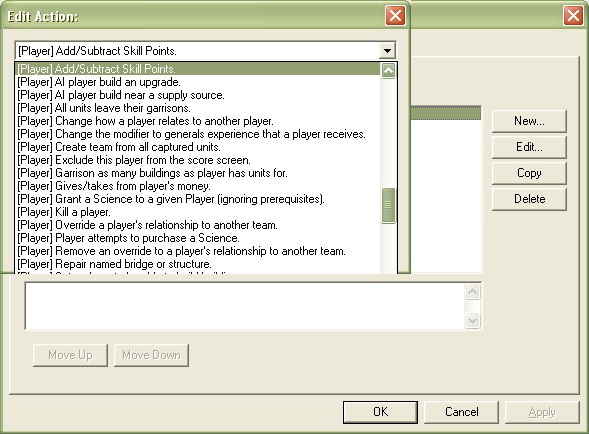
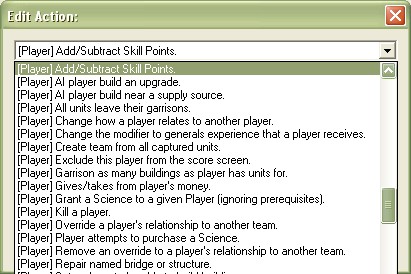
14. We now need to decide what to do if the player occupies this area. For the sake of this tutorial, I decided to give them a free Generals Point. You could do just about anything you wanted (give them units, give them money, make them win, etc.). You will need to use the [Player] Add/Subtract Skill Points Option (Figure 14).
|
Figure 14:
|
|
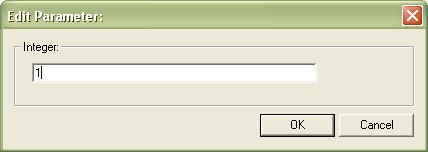
15. You need to edit the options of this script as well. You want to set the player to , and the number of points to 1 (Figures 15 and 16).
|
Figures 15 and 16:

|
|
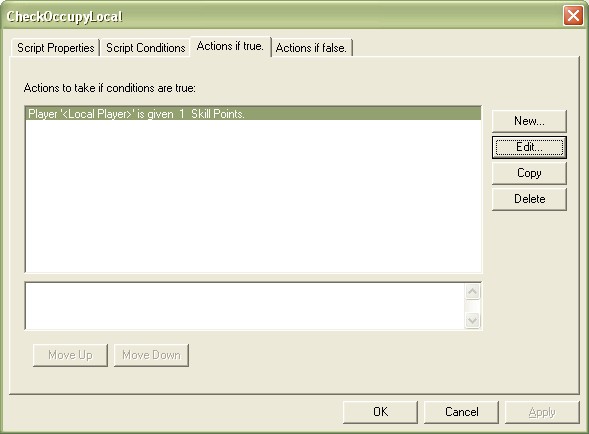
Your completed Actions if True tab should look like Figure 17.
|
Figure 17:
|
|
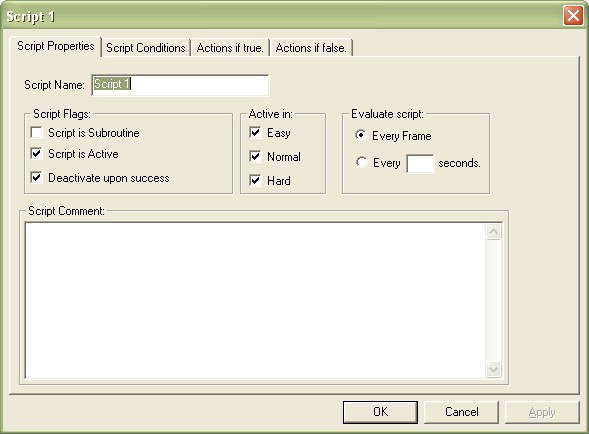
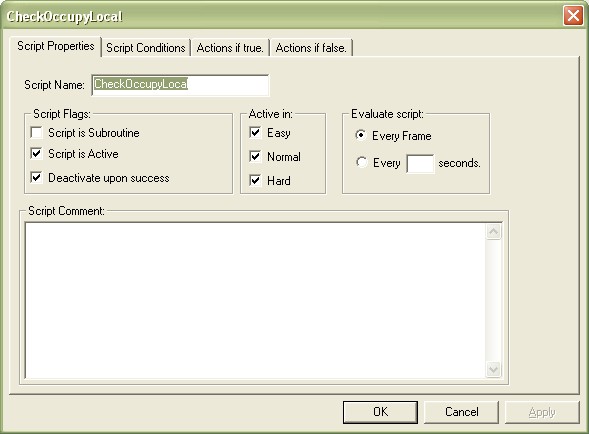
16. Check to make sure that your options in the Script Properties tab match those in Figure 18.
|
Figure 18:
|
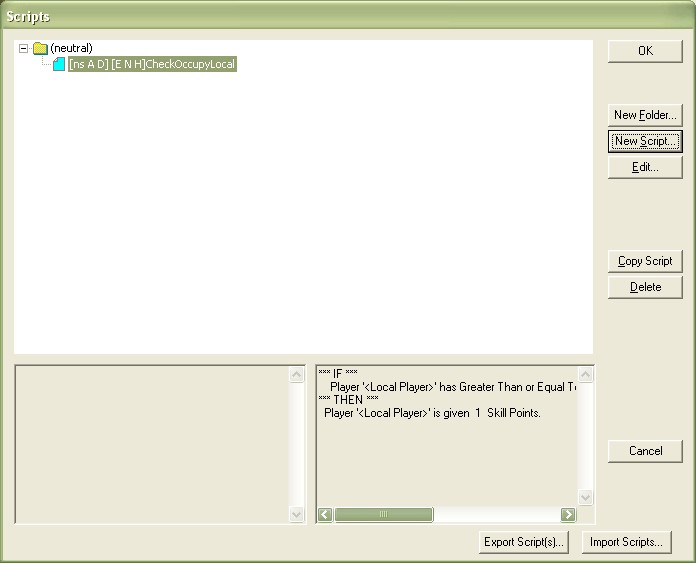
17. Select Okay, and make sure the script appears in the script window (Figure 19).
|
Figure 19:
|
You can now save the map, and test out your new script. Remember, you will need to build a structure in the correct area, and you should receive 1 free skill point. Congratulations on completing a 5 star tutorial.